Welcome to another Notion post! Notion has become a popular student favorite for organization and productivity, and it’s time you joined in on the trend!
Notion is a very versatile tool, which also means that there’s a slight learning curve for new users. And for many students, the hardest part about mastering Notion is making it look aesthetic.
While Notion is an extremely functional tool, the default layout looks a little “blah.” That’s why many users enjoy creating an aesthetic look for their Notion.
Interested in skipping the setup yourself and buying a pre-made aesthetic Notion template?
Check out my Ultimate Student Planner Notion Template!
In this post, I’ll teach you the five key steps to follow to make your Notion page as aesthetic as it is motivating and organizational. Let’s get into the post!
Introduction To Notion
Notion is a website and app that allows you to create a completely customized database to organize your life.
You can take notes, add tasks, manage long-term projects, collaborate with teams, and much more. It has a free plan for personal use and a free pro plan for students, and I recommend these instead of the paid ones– they’re totally enough.
To use Notion, simply go to notion.so and click Sign Up in the upper right corner. Signing up will ensure that your pages and workspace are saved so that in case of any technical glitch, your data won’t be lost.
Once you’re signed up, go to Download and choose the option you need. In my opinion, the desktop app works best due to the size and flexibility of the computer in comparison to a mobile phone, so I suggest going to Mac & Windows. And now you’re ready to go!
My Notion Setup
In this post– Student Notion Setup For 2022 (NEW Template)– I reveal my updated Notion setup, which now includes more comprehensive features like a gratitude journal, upgraded bookshelf, and more. You can read more about it at the link above, or purchase the template here for just $3.95.
YOU’LL LOVE THIS POST: Student Notion Setup For 2022 (NEW Template)
1. Choose A Color Scheme
One of the first things you should do with your Notion page is to choose a color palette. If you have a favorite color or you already have a palette in mind, then you’re all set!
If you’re not sure what colors you’d like, you can explore palettes online through a tool like Coolors, a color palette generator!
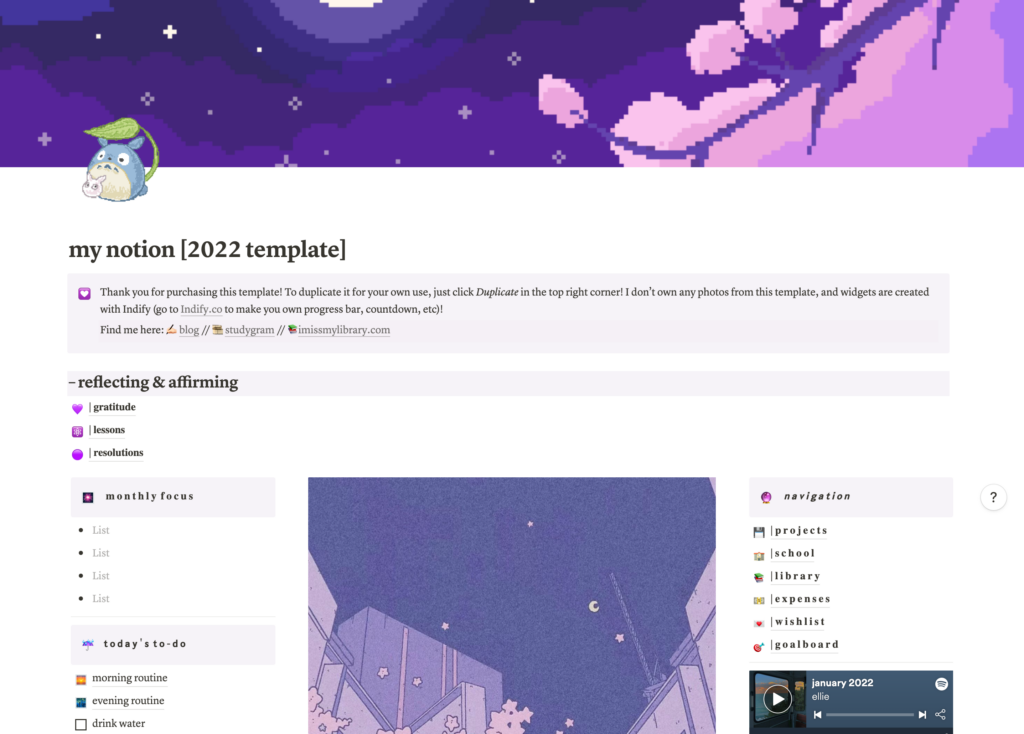
Once you’ve chosen a color scheme, follow through by sticking to these colors with all your headings, highlights, pictures, widgets, etc. Here’s an example of my setup, which has a purple palette:
You can find aesthetic photos from your color palette on Pinterest simply by searching “[color] aesthetic,” like “pink aesthetic.” Pinterest will then give you many options, like this:
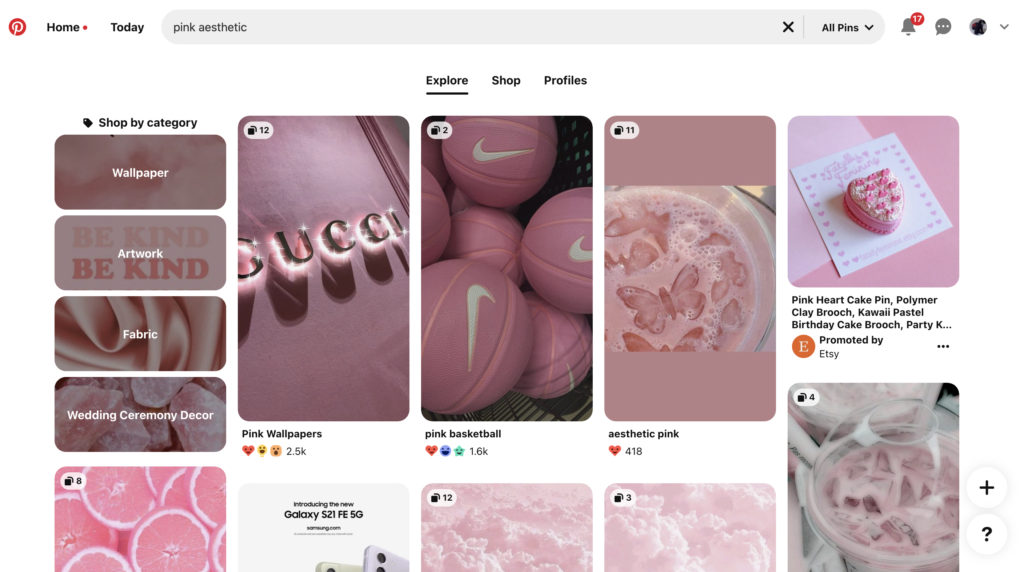
You can then choose pictures to add to your Notion page! Speaking of which, let’s talk a little more about adding and formatting images on Notion.
2. Add Pictures
Pictures are a great way to liven up your Notion space, as well as divide space to make the page appeal more visually.
If you fill the page with black and white or minimally-decorated chunks of text, you may have trouble finding the motivation to go back to it (having a visually appealing setup makes you more likely to go back to look at it). Adding pictures is the perfect way to counter that!
Whenever you see that a screen is completely filled with boring, text chunks, consider adding a picture. It can be a simple, minimalist picture, or a colorful, busy one– whichever fits your aesthetic!
For example, this is how I decorated my morning routine page:
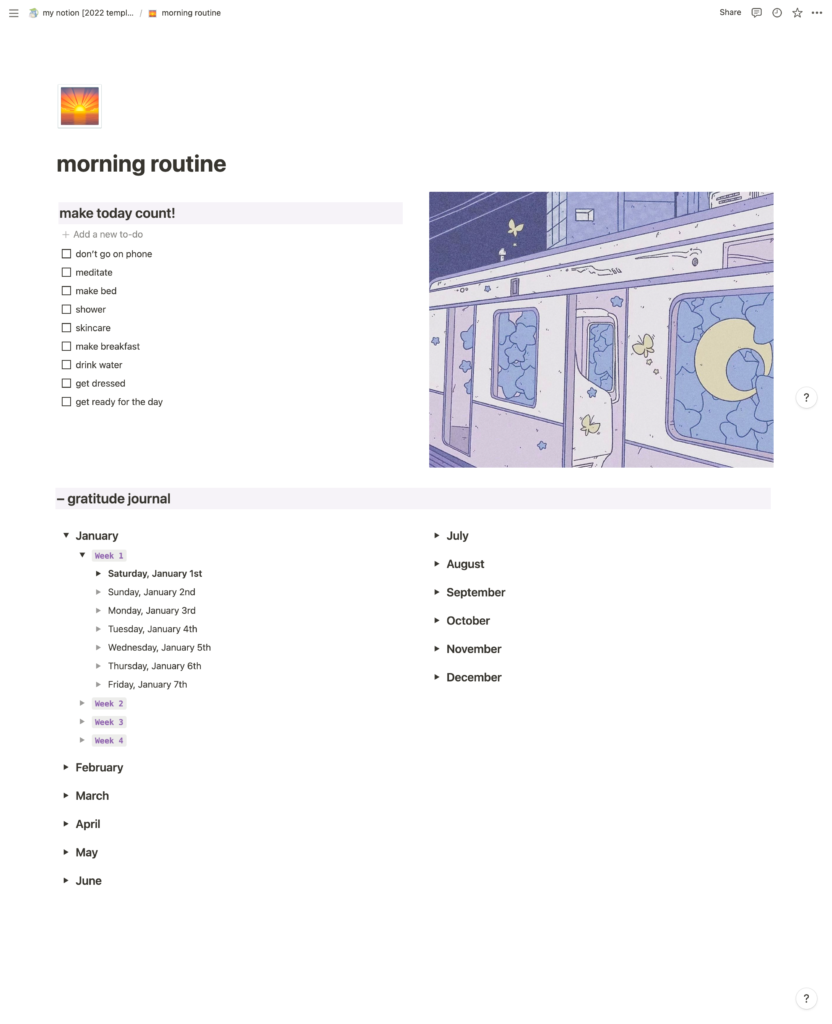
As you can see, I added a picture on the right side of the page. It fills up the empty space there (since the to-do list doesn’t take up the entire horizontal space) and acts as an effective placeholder or divider between the different sections. Without this image, the entire page would be text only!
How To Format Pictures
If you’re new to Notion, formatting chunks may be confusing at first. There are two main things to note about formatting the pictures: how to add columns, and how to change the column or the picture’s size.
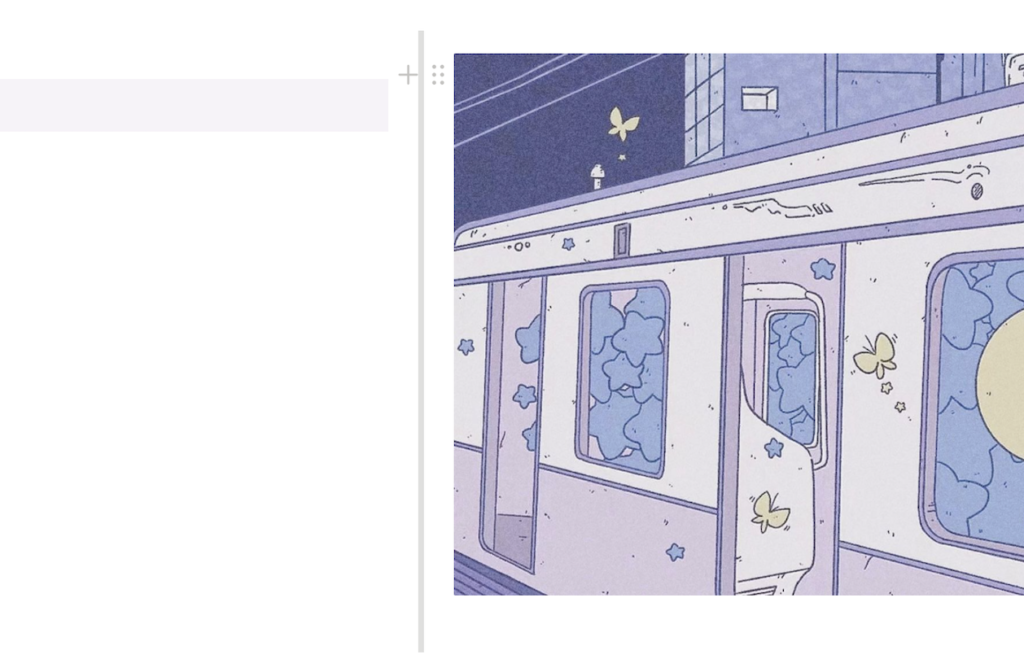
First, add an image to the page. To move it, hover over the image until you see the + and :: symbols:
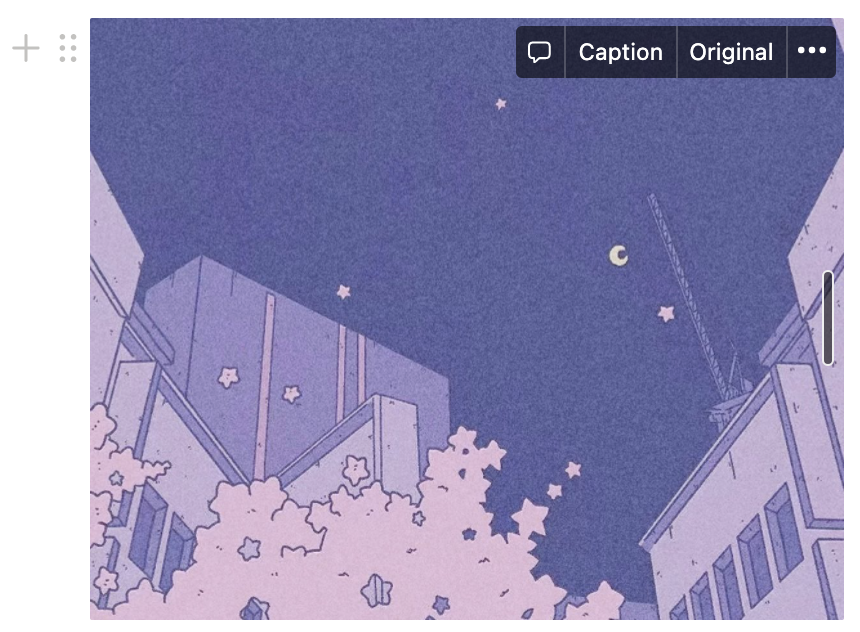
Now, click and drag the :: symbol anywhere you’d like the picture to be. Take note of the blue line that appears near the chunk– this shows the position the picture will end up in.
You can create a new column with the picture by dragging it to the side of the page. Again, notice the blue line that appears. If it’s on the side and vertical, your picture will be positioned there, as a new column.
You can adjust the size of the column by clicking and dragging the gray line that appears when you hover near the space between two chunks:
You can adjust the size of the image itself by clicking and dragging the small, dark line that appears when you hover over the picture:
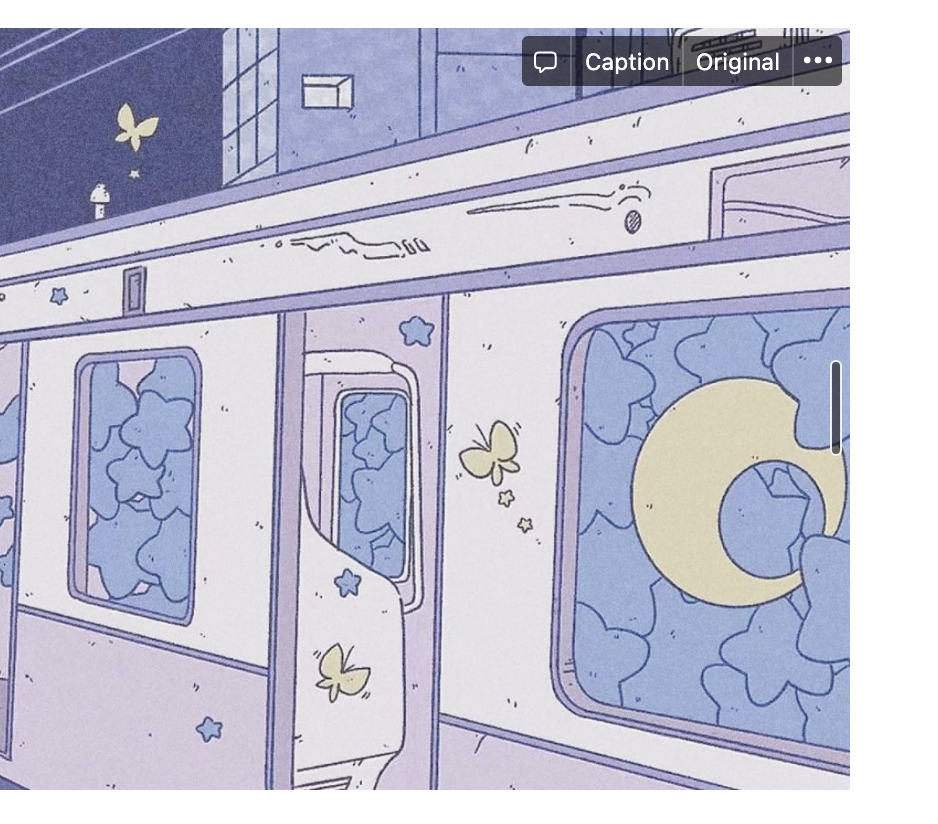
Unfortunately, you can’t crop images directly in Notion. So be sure to crop it before you import it!
3. Use Decorated Text
Decorated text is another great way to spice up your Notion page. While Notion itself does give options for different fonts (see the image below) and heading sizes, its choices are still pretty limited.
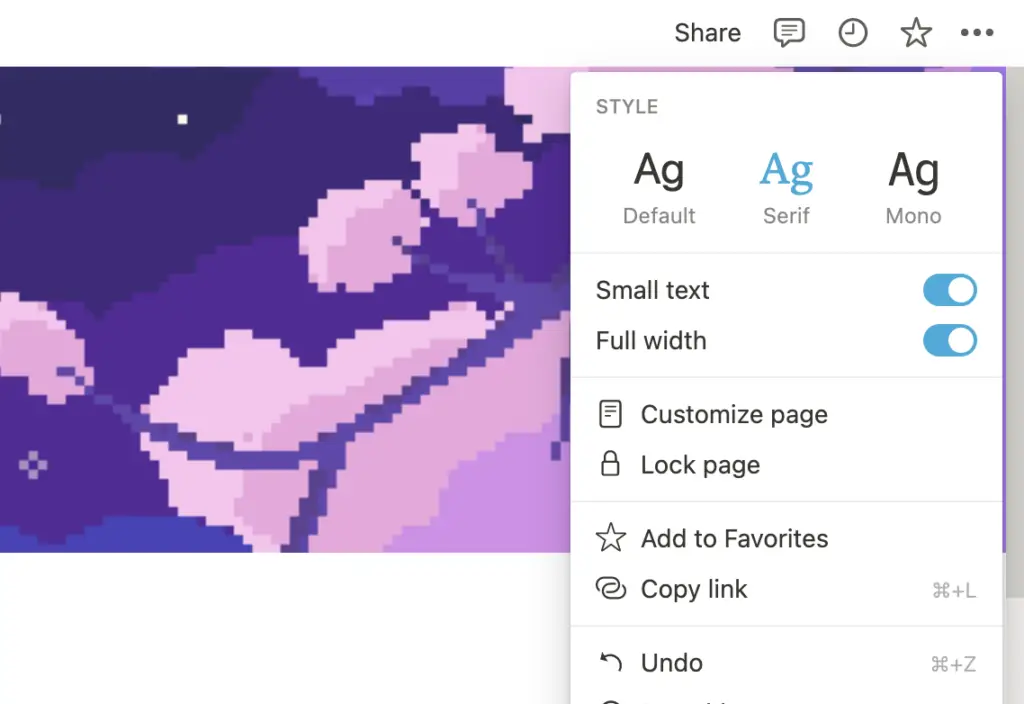
Three additional ways I like to decorate text in Notion are as follows.
Call-Outs
Call-outs are an included feature (also called a “block”) that you can access by typing /callout. By the way, you can use this shortcut (backward slash + name of the block) to easily add any basic block!
A call-out will add a colored box to the entire chunk of text, making it stand out from others. You can use this as a subtitle, note, reminder, affirmation, or anything else. You can see how I used it on my homepage as an affirmation and various subtitles:
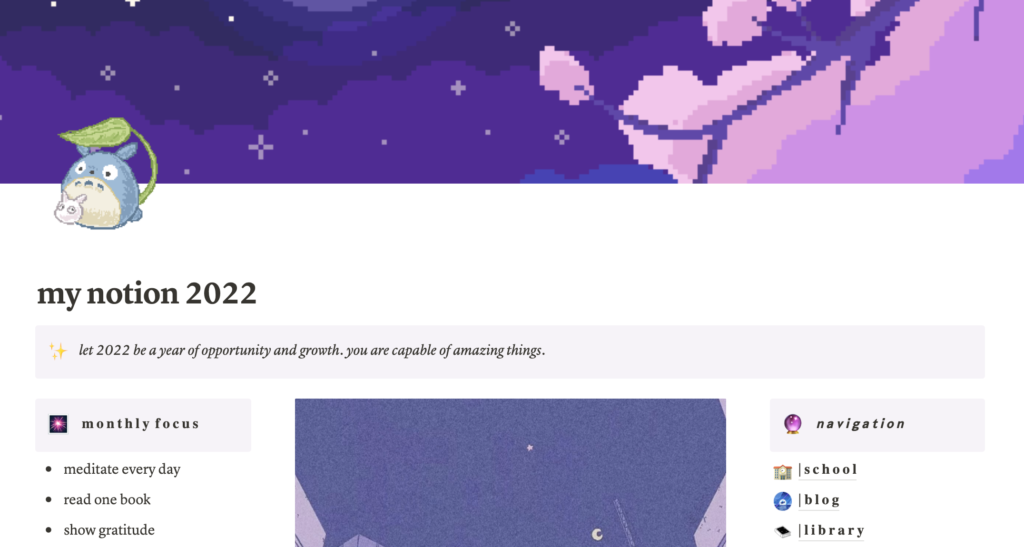
You can change its color by clicking the :: symbol, going down to Color, then choosing a color (both for the text and background box).
Colors
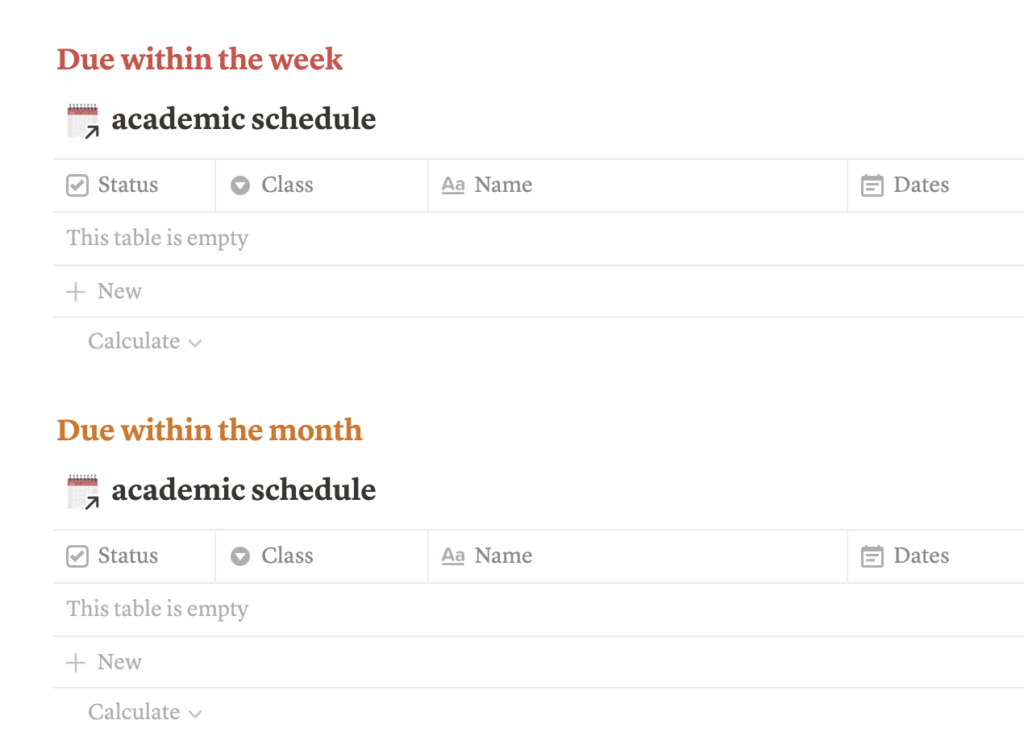
Another super simple feature is to change the color of any text! This is very easy– select the text chunk you’d like to color, click ::, go down to Color, and change the color! This is how I achieved these subtitles:
Instagram Fonts
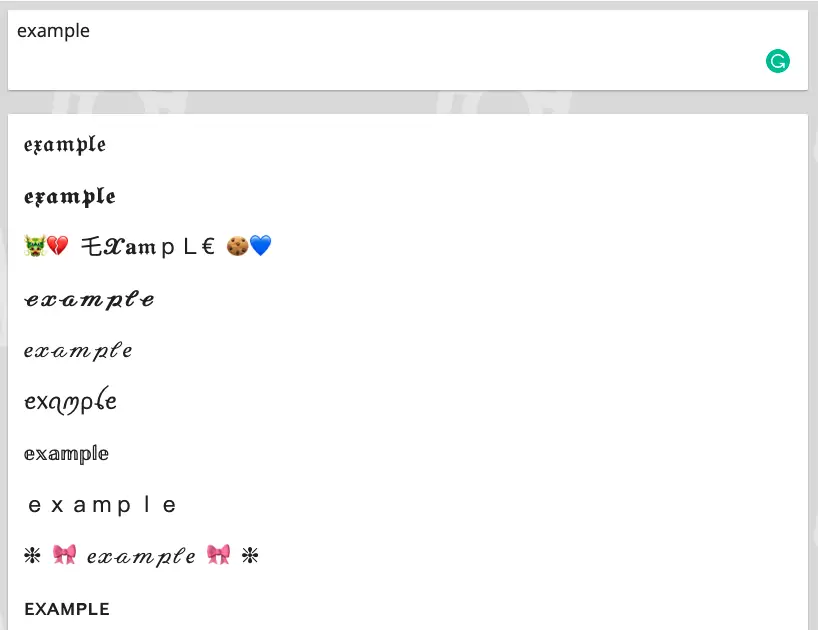
Lastly, don’t limit yourself to the fonts on Notion! While you can’t import custom fonts to use, you can copy and paste text directly from websites like igfonts.io/.
For headings, I sometimes use this website to add some variations in the font. And it’s super intuitive to use! Simply type a phrase in the box at the top, then watch as the website provides a bunch of fun fonts. Copy the one you like, then paste it directly into Notion!
4. Embed Media
In addition to pictures, you can also embed various media like PDFs, Google Maps, Spotify playlists, YouTube videos, GIFs, and even custom code!
When you type the shortcut /embed, you’ll see many options for what to embed. But an easier way to embed is to directly paste the link of the media. For example, here’s how I embedded my Spotify playlist (the link is the playlist):
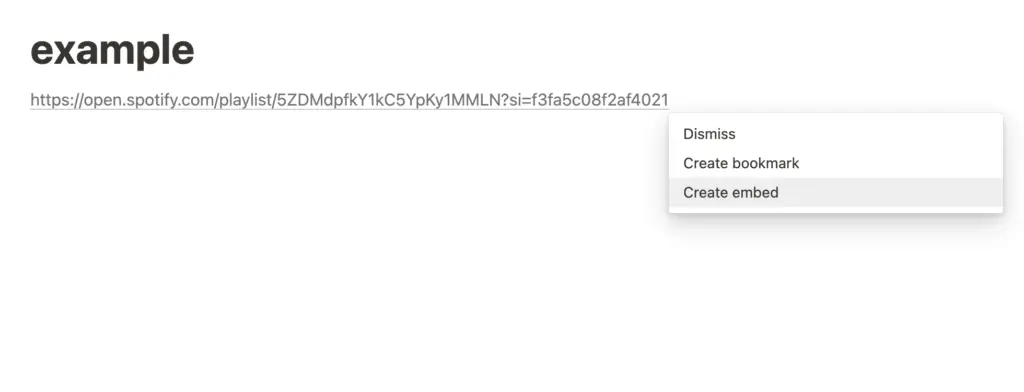
When you paste a link, Notion automatically checks if it can be embedded. Usually, it can, and you can create an embed by clicking Create embed.
The media I embed most is Spotify playlists. However, when you try to play music from the embedded playlist, it will not play the entire song– it will only play a sampler. Therefore, the embed is almost purely for decoration.
If you’d truly like to embed an entire song in a page for whatever reason, download the song as an MP3, then insert it in the page as a file.
5. Add Widgets
The last method to make your Notion page aesthetic involves a third party – Indify! Indify created new widgets so you don’t have to, and you can customize and download them after signing up for an account.
Here are Indify’s widgets, as of January 2022:
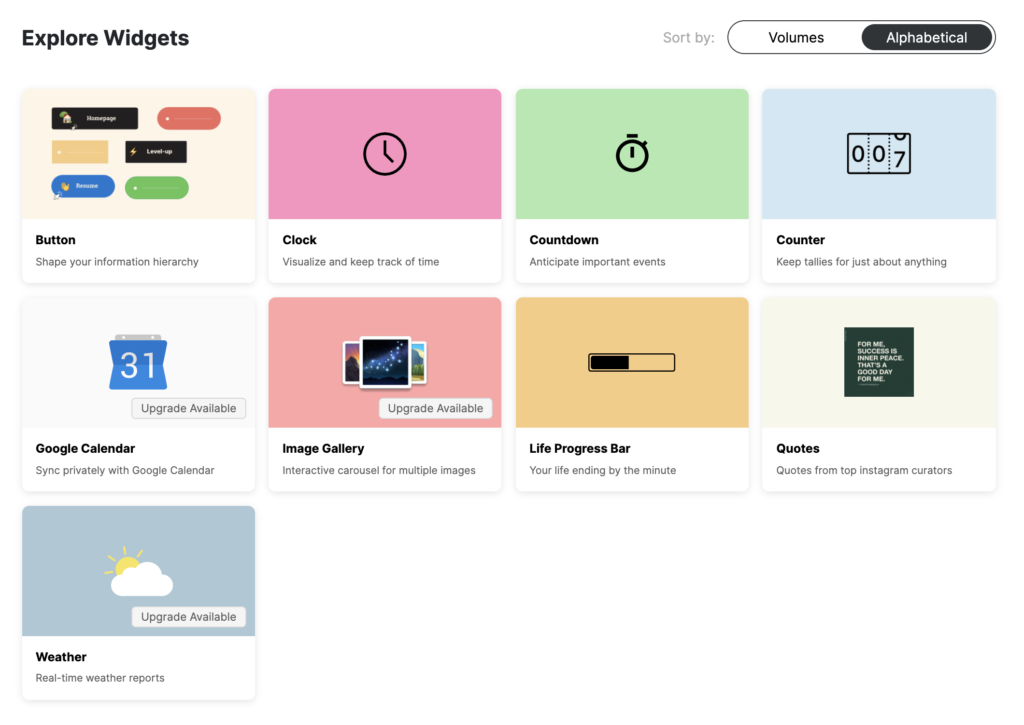
You can see a Life Progress Bar and Countdown on the home page of my Notion template, and my books-read Counter on the Library page. To create your own, simply go to Indify, create your account, select a Widget, customize it, then copy the link and embed it! Super easy.
Conclusion
And that’s it for this post; I hope you found it helpful!
You may also be interested in my Ultimate Student Planner Notion Template if you’re looking for an aesthetic Notion template you can start using immediately:
If you enjoyed this post, here are a few more I recommend checking out:
