If you’re a student, you’ve probably heard of Notion.
Notion is an all-in-one digital organizing tool that has rightfully taken over the Internet in a few short months, and in this post, I’ll teach you everything you need to know to get started with the app.
You can check out my other Notion posts here:
- My Full Notion Setup As A Student (FREE Template Included!)
- How To Make Your Notion Aesthetic In 5 Simple Steps
- How To Effectively Organize Your Student Life With Notion
I also created a Notion Template for Students which you can purchase below to help you organize your life effortlessly!
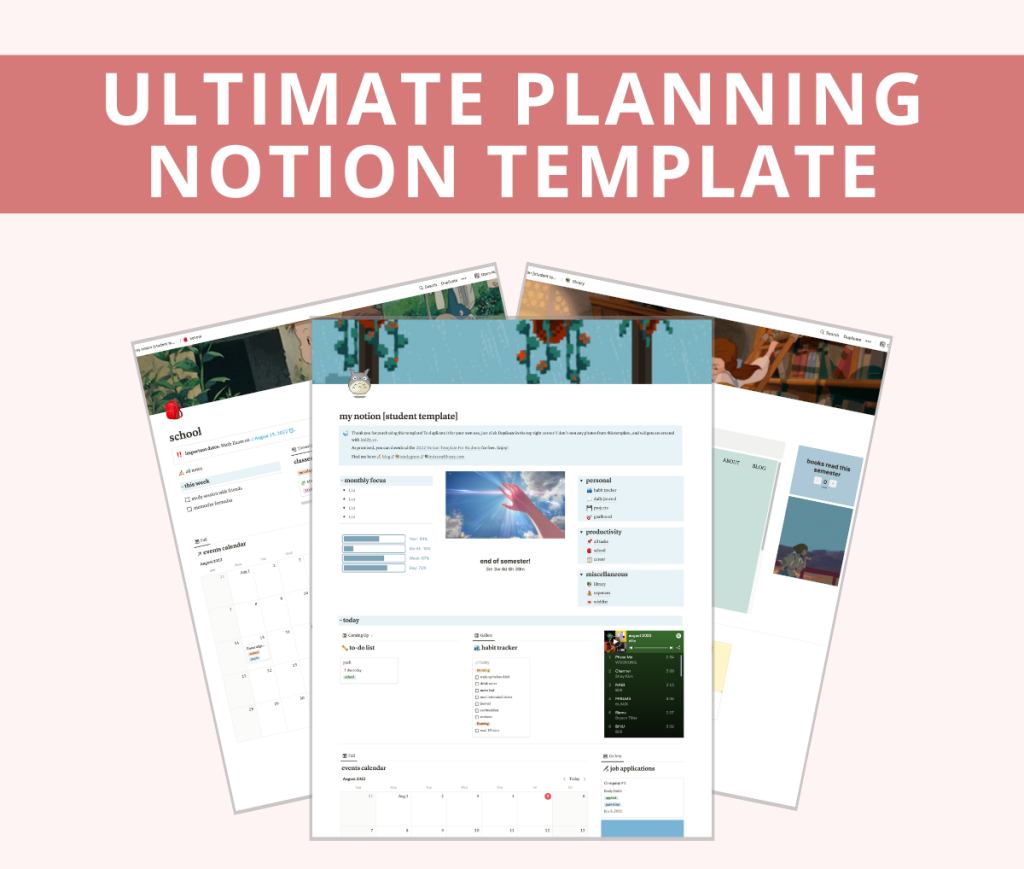
This easy-to-use Notion template will save your life as a student.
But for now, let’s start with the basics of Notion. If you’re ready to take the first step in organizing your entire life with Notion, let’s get into the post!
Notion Basics
What is Notion?
Notion is a website and app that allows you to create a very large, completely customized, and organized database of whatever you’d like to include.
You can take notes, add tasks, manage long-term projects, collaborate with teams, and much more. It has a free plan for personal use and a free pro plan for students, and they are completely enough for most people to organize everything they need.
How do I get started?
Simply go to notion.so and click Sign Up in the upper right corner. Signing up will ensure that your pages and workspace are saved so that in case of any technical glitch, your data won’t be lost.
Once you’re signed up, go to Download and choose the option you need. In my opinion, the desktop app works best due to the size and flexibility of the computer in comparison to a mobile phone, so I suggest going to Mac & Windows.
After your app is downloaded, just sign in again and you’re ready to get started.
Pages You Need
Though there is no page that you absolutely need, there are a few that are common amongst student Notion users and incredibly helpful to have.
Home page
This page is just like it sounds: a home base for all other pages and links. It usually also includes important links or information, such as an urgent to-do list and a monthly calendar.
In later posts of this series, I’ll reveal my own Notion setup (plus a template!), including my Home page. There is no right way to set up Notion, so feel free to play around with it!
You can try adding new pages and different databases, customizing fonts and colors, adding images, etc. I will be reviewing these in detail soon in this post, but for now, simply create the next page by typing a slash symbol and selecting Page.
Once you’ve got a few important pages created, you can start organizing them on the Home page and making it pretty!
Personal page
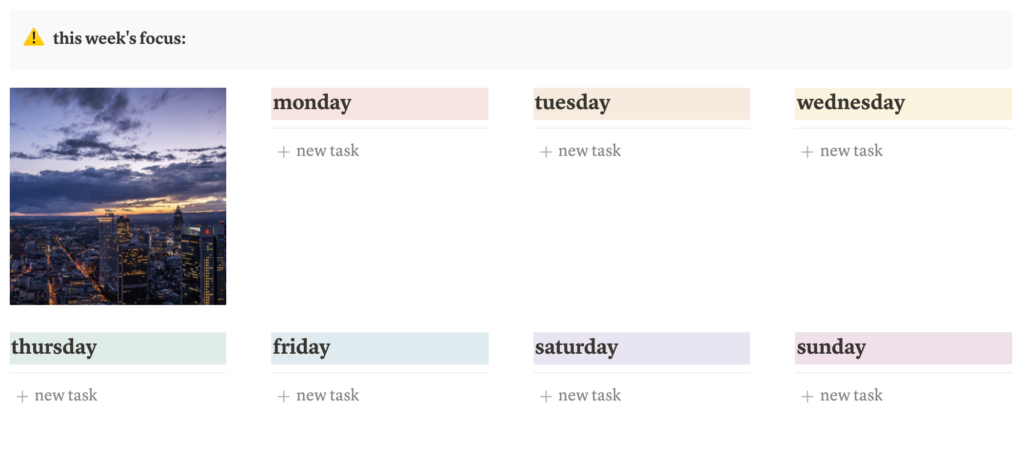
This is where I, as a student Notion user, reference the most, because it contains my daily to-do list and habit trackers. Though it’s super short and sweet, it’s a highly practical page that helps me go about my day productively.
You can create sections on your page for each day of the week, title it with the day, then create a task list under each day. You can also track upcoming events in this way, noting each event under the corresponding day.
Academics page
You can choose how extensive you want Notion to be in organizing your academic life. Some students do everything in Notion, including taking notes and saving resources for projects. Others just keep the very basics, such as a table for their schedule (and Zoom links).
Here are a few ideas for what you could include on this page:
- A table to organize your schedule, Zoom links, teachers, syllabi, etc
- A page for each class, including sections for semesters, units…
- A table to organize potential scholarships
- A calendar to track due dates for projects
- A to-do list to track your homework assignments
Future planning page
On this page, you can list all your long-term goals, a vision board, action tasks, your establishes reward/punishment system, etc.
One of my favorite features for this purpose (specifically, organizing my goals) is the Board feature. If you’ve used Trello before, Notion’s Board feature is just like Trello, where you can create cards and organize them by column.
You can create a card for each goal and organize them by not achieved, in progress, and achieved. And you can open each card to add detailed steps or extra notes!
YOU’LL LOVE THIS POST: The Ultimate Student Guide To Effective Monthly Planning
Cool Features in Notion
There are many cool features in Notion, and the team is constantly working to improve it and add more! These features often help improve the user experience in ease of use and aesthetics. Here are some examples you should try:
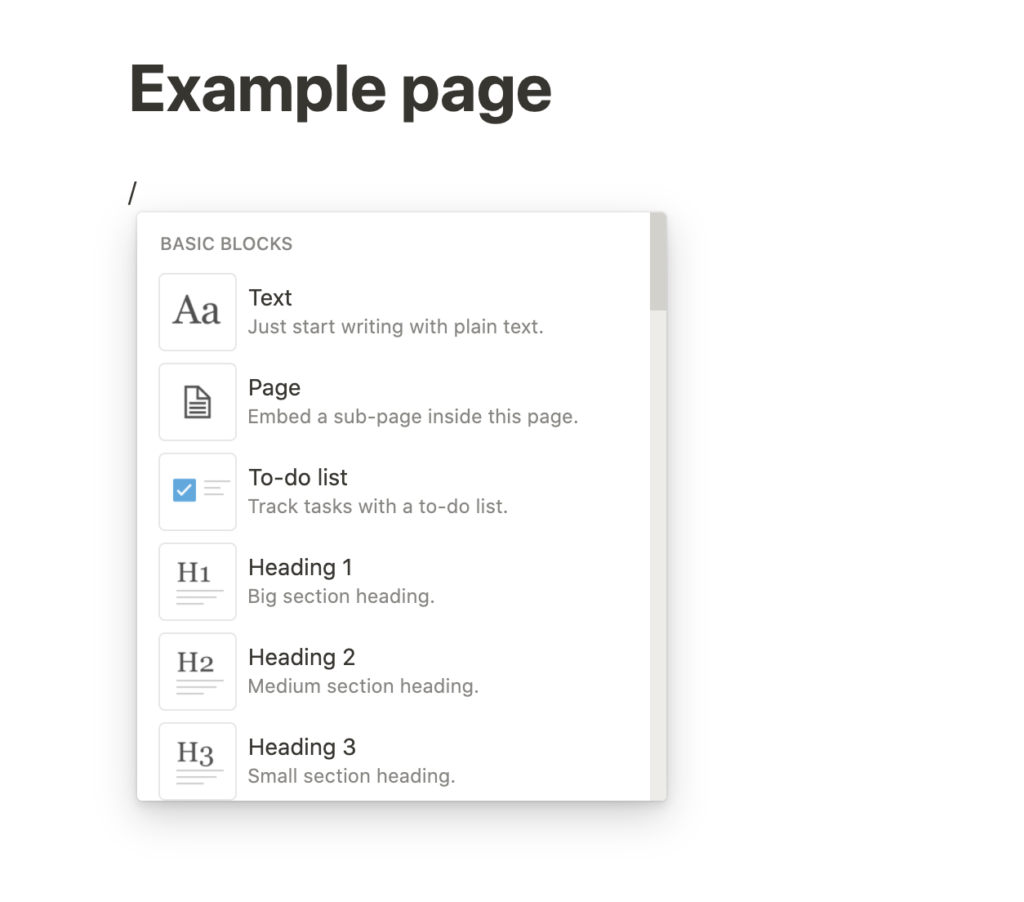
- Shortcuts
Notion has a large range of commands that you can use just by typing a slash (“/”). You can add a new page, a database, images, links, and more. Here’s an image of what using the shortcut looks like:
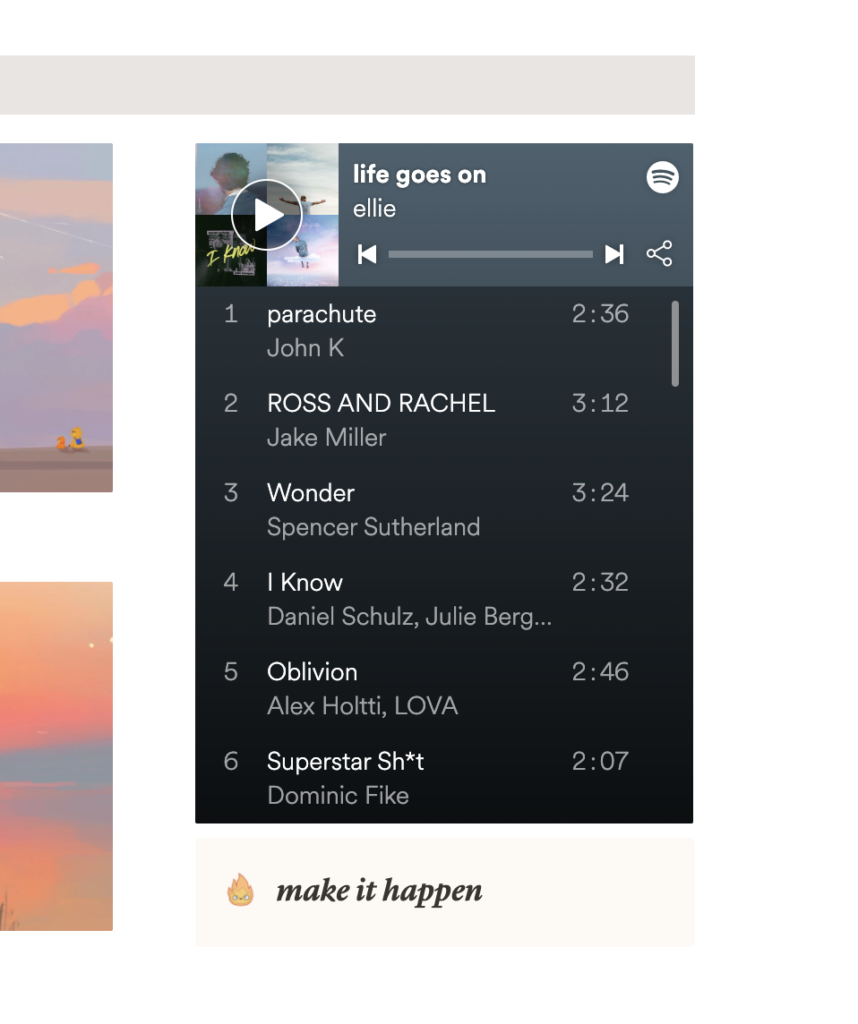
- Embeds
There are many things you can embed in Notion, including a web page, a PDF, a Spotify playlist, a YouTube video, and more. I have one of my Spotify playlists embedded for aesthetic purposes (the songs only play for 30 seconds, so I don’t use the embed to play music).
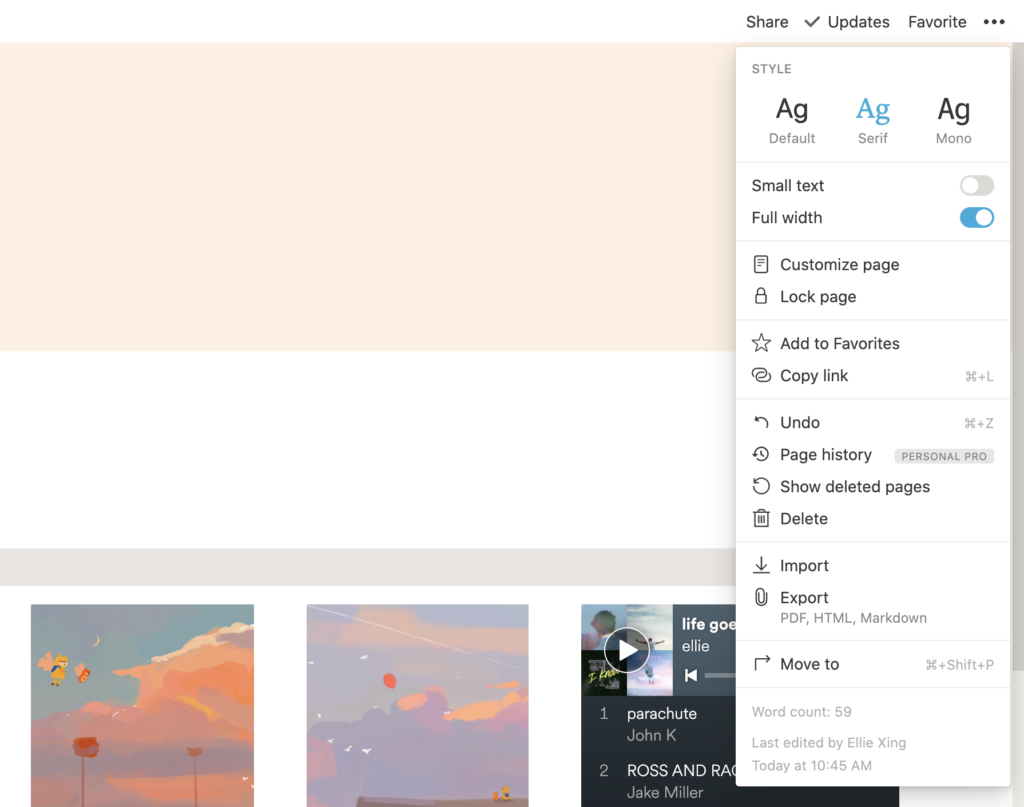
- Page settings
By clicking the 3 dots in the top right corner of Notion, you can open Settings for a page and edit how it looks and works. You can change the font of all the text as well as how the page formats. Here’s a look at all the features:
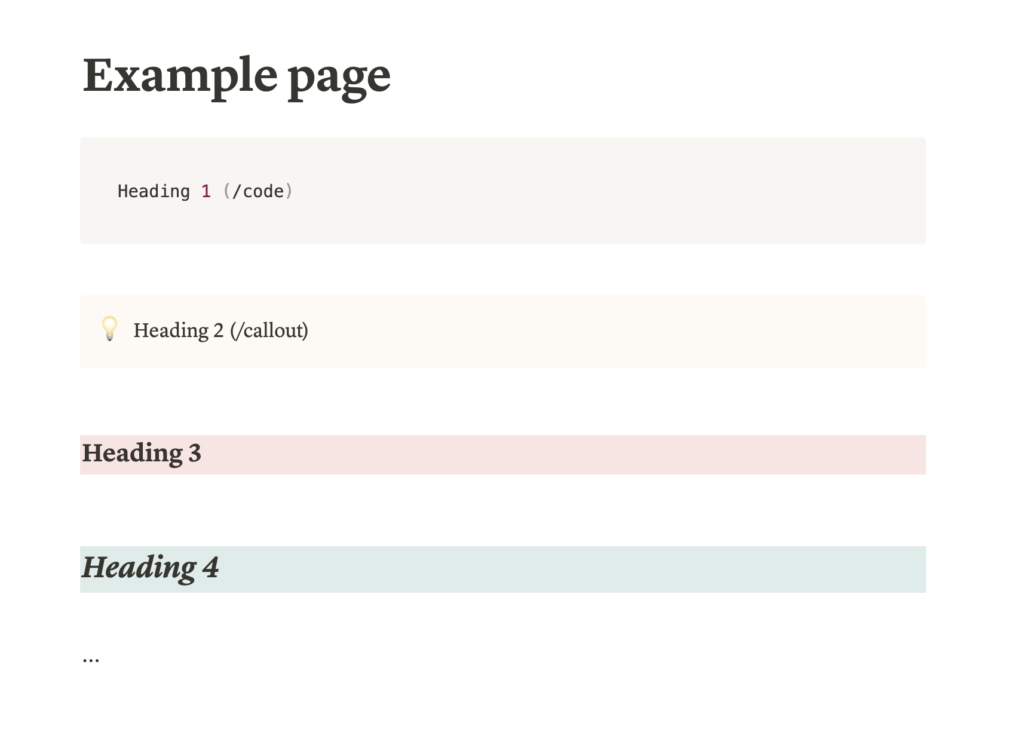
- Text fonts and colors
The lack of different fonts in Notion is not necessarily a disadvantage. Having a uniform font family makes your pages look clean and put together. In addition, you can be creative with your headings, like this:
Change the color of texts by clicking the 6 dots that appear when you hover over it, then choosing Color and picking your favorite!
Making Notion Aesthetic
Using Notion is like using a digital journal, as you can customize so many aspects of your pages to make it fit your aesthetic. For a Notion novice, start by choosing a color scheme and inserting a few pictures on every page.
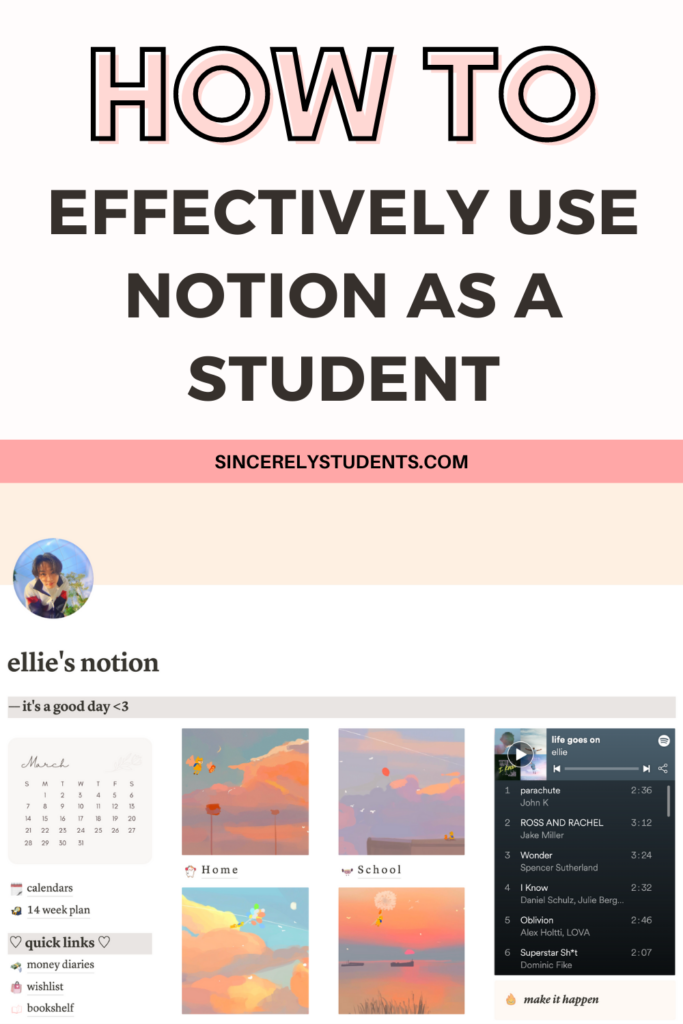
For example, take a look at my home base (none of the images are mine, and the setup was inspired by others’ templates!):
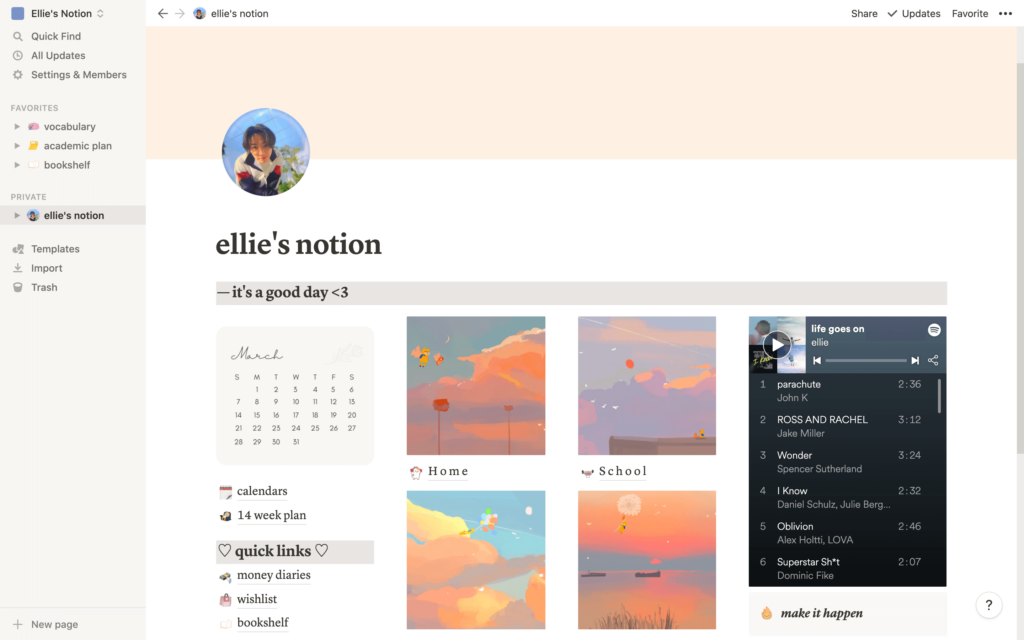
I chose a beige and bright color scheme and customized my headings around those colors. Using different colors and font styles/sizes, I separated different sections of the page. I then added cute images to spice up the page!
There are many, many ways to design and upgrade your Notion page, so play around!
Lastly, I’ll be showing you my own Notion setup and give you access to my template in the last post of this series, which is coming soon! So don’t worry about making Notion pretty right now, as I’ve got it all ready for you!
Conclusion
I hope you enjoyed this introductory post to Notion! If Notion sounds interesting to you and you’d like to learn more about how to use it to organize your life, don’t forget to check out the rest of this series:
- How To Set Up Notion For Students (this post!)
- How To Organize Your Student Life With Notion
- My Notion Setup + Free Template
And you may also be interested in my Notion Template for Students which you can purchase and start using immediately:
This easy-to-use Notion template will save your life as a student.
And if you’re looking for more student organization posts, check these out:
- The Ultimate Guide To Effective Project Planning
- How To Motivate Yourself To Study When You Don’t Feel Like It
- The Best Time Management Secret to Getting Everything Done